

Unleashing Your Inner Brewer: A Guide to Home Brewing
Home brewing has rapidly gained popularity among enthusiasts eager to explore the craft of making their own beer at home. With the right tools, knowledge, and a pinch of creativity, you can unleash your inner brewer and produce delicious, unique beers right from your kitchen. In this guide, we’ll equip you with essential tips, common questions, and tools to kick-start your home brewing journey.
What is Home Brewing?
Home brewing is the process of making beer on a small scale, typically for personal use. It involves combining water, malted grains, hops, and yeast, leading to a fermentation process that ultimately results in beer. Unlike commercial brewing, home brewing offers a level of creativity and personalization, allowing you to design flavors and styles that suit your preferences.
The Benefits of Home Brewing
Home brewing has numerous benefits, including:
- Creativity: You can experiment with different ingredients and techniques, creating unique flavors tailored to your taste.
- Cost-Effective: Brewing your own beer can be significantly cheaper than purchasing craft beers over time.
- Educational: The brewing process helps you understand the science behind fermentation and the ingredients in beer.
- Quality Control: You can ensure the quality of your ingredients and customize your beer to be free from unwanted additives.
Essential Equipment for Home Brewing
To kickstart your brewing adventure, you’ll need some basic equipment. Here’s a list of essential home brewing gear:
1. Brewing Kettle
A large pot (at least 5 gallons) is necessary for boiling your ingredients. Stainless steel is ideal for durability and ease of cleaning.
2. Fermentation Vessel
This is where the magic happens! You need a container (usually glass or food-grade plastic) fitted with an airlock to allow CO2 to escape while preventing contaminants from entering.
3. Bottles and Capping Supplies
Once fermentation is complete, you’ll need bottles to store your beer. You’ll also require a capper to securely seal them.
4. Sanitizer
Sanitation is critical in brewing to prevent unwanted bacteria from ruining your beer. Use a food-safe sanitizer to clean all equipment thoroughly.
5. Hydrometer
This tool measures the specific gravity of your beer, helping you determine the alcohol content and fermentation progress.
Getting Started: The Brewing Process
Brewing beer may seem intimidating at first, but once you understand the basic steps, you can begin experimenting with different recipes. Here’s a simplified overview of the brewing process:
Step 1: Prepare Your Ingredients
Choose a recipe that suits your taste and gather your ingredients: malt, hops, yeast, and water. Each ingredient plays a crucial role in the final product.
Step 2: Mash the Grains
For all-grain brewing, you’ll need to mash the grains at a specific temperature to extract sugars. This process usually takes about an hour.
Step 3: Boil the Wort
After mashing, drain the liquid (wort) and bring it to a boil. This is where you will add hops at various stages for bitterness and aroma.
Step 4: Cool the Wort
Rapidly cool the wort to fermentation temperatures. This can be done using an immersion chiller or an ice bath to avoid unwanted bacteria growth.
Step 5: Ferment
Transfer the cooled wort to your fermentation vessel, add yeast, and seal it with an airlock. Fermentation typically lasts between 1-2 weeks, depending on your recipe.
Step 6: Bottle and Age
Once fermentation is complete, siphon the beer into bottles, adding a small amount of sugar to carbonate the beer. Cap them and let them age for at least two weeks.
Step 7: Enjoy!
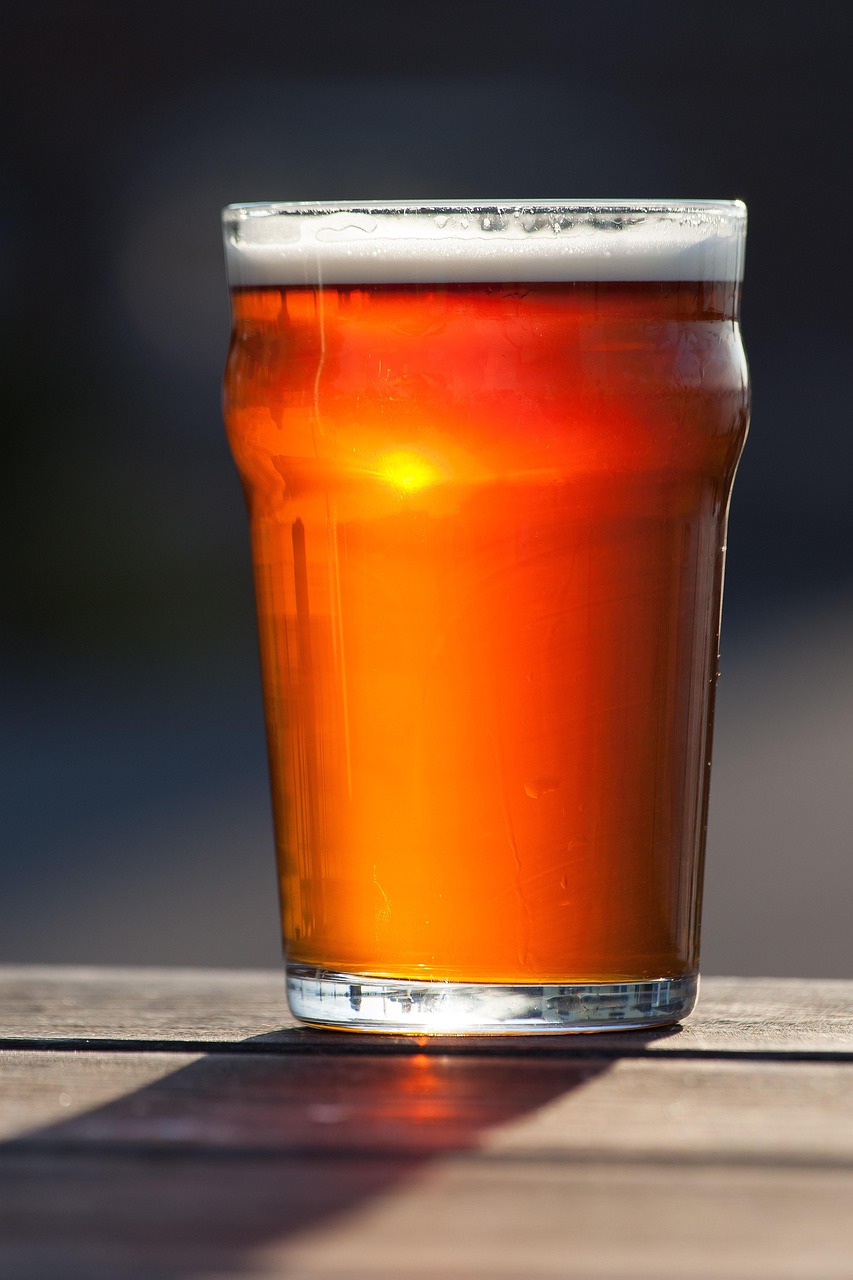
After aging, chill your beer, pour it into a glass, and enjoy your home-crafted brew!
Common Home Brewing Questions
1. What equipment do I absolutely need to start brewing?
At a minimum, you’ll need a brewing kettle, fermentation vessel, bottles, and sanitizer. Additional tools like a hydrometer and thermometer can enhance your brewing experience.
2. Can I brew beer without grains?
Yes! You can use extract brewing, which utilizes malt extract instead of whole grains. This method is less time-consuming and perfect for beginners.
3. How do I know when fermentation is complete?
When fermentation is done, the bubbling in the airlock will slow or stop, and the specific gravity will remain constant over two days, indicating that the yeast has finished its work.
4. What are some common mistakes to avoid?
- Sanitation Failures: Always sanitize your equipment to avoid contamination.
- Temperature Control: Maintain appropriate temperatures during fermentation for optimal yeast activity.
- Skipping the Carbonation Step: Not adding sugar before bottling will result in flat beer.
Tips for Success
- Start Simple: Choose beginner-friendly recipes to build your confidence.
- Keep Detailed Records: Track your brewing process to replicate successful brews or troubleshoot problem batches.
- Join a Community: Explore online forums or local brewing clubs for support, advice, and camaraderie.
Advanced Brewing Techniques
Once you’ve mastered the basics, consider venturing into advanced brewing techniques like adding adjuncts (fruits, spices, etc.), experimenting with different yeast strains, or dry hopping for enhanced aroma. Each new technique can help refine your brewing skills and result in unique beers.
Conclusion
Unleashing your inner brewer is not just about creating beer; it’s about embracing a craft that combines science, artistry, and a passion for flavor. As you embark on your home brewing journey, remember that patience and experimentation are key. With practice, you’ll not only hone your skills but also develop a deeper appreciation for the art of brewing. So gather your ingredients, scrub your equipment, and toast to your next brewing adventure!